系统环境
| 标题 |
版本 |
备注 |
| 系统版本 |
22.04.3 LTS (Jammy Jellyfish) |
- |
| 内核版本 |
5.15.0-91-generic #101-Ubuntu SMP Tue Nov 14 13:30:08 UTC 2023 x86_64 x86_64 x86_64 GNU/Linux |
- |
| Hysteria |
v2.4.1 |
- |
Hysteria2 简介
Hysteria2 官方地址: https://v2.hysteria.network/zh/
Hysteria2 项目地址: https://github.com/apernet/hysteria/releases
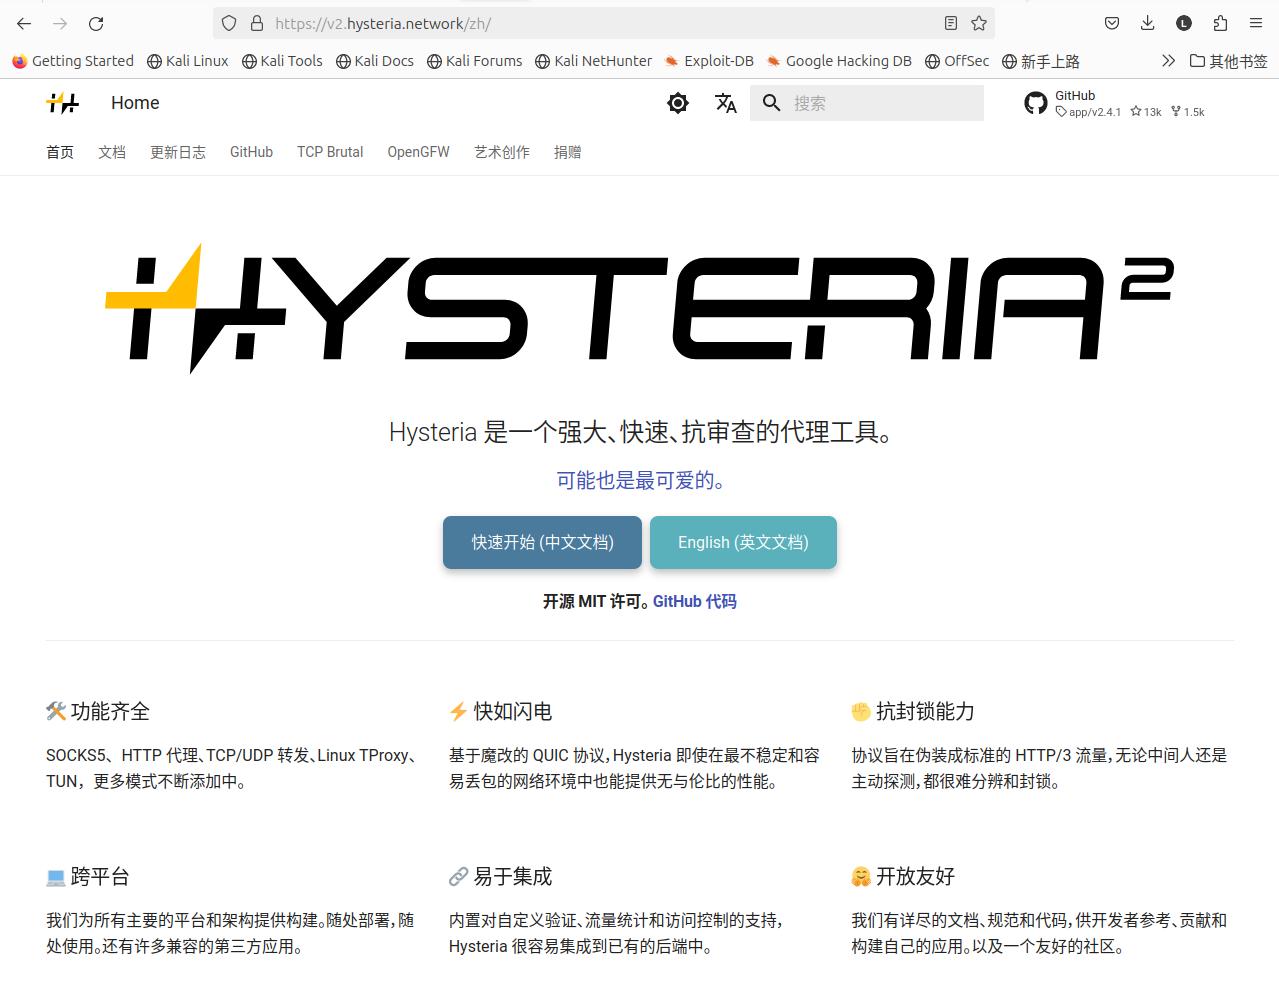
Hysteria 是一个强大、快速、抗审查的代理工具。下图是作者给出的简介:
Hysteria2 安装
如果你有自己的专属域名,那么请先将其解析好 ,然后使用 在线认证证书配置 的方法进行配置;否则,使用 自签认证证书配置 的方法进行配置
服务端安装
1.在 /usr/local/ 目录下新建 hysteria2 目录:
1
| mkdir -p /usr/local/hysteria2/{etc,bin,logs}
|
2.在 /usr/local/hysteria2/etc/ 目录下新建配置文件 config.yaml, 内容为:
在线认证证书配置
1
2
3
4
5
6
7
8
9
10
11
12
13
14
15
16
17
18
19
20
21
22
23
24
25
| listen: :443
acme:
domains:
- hysteria2.xxxxx.com
email: [email protected]
quic:
initStreamReceiveWindow: 8388608
maxStreamReceiveWindow: 8388608
initConnReceiveWindow: 20971520
maxConnReceiveWindow: 20971520
maxIdleTimeout: 30s
maxIncomingStreams: 1024
disablePathMTUDiscovery: false
auth:
type: password
password: 123456
masquerade:
type: proxy
proxy:
url: https://hysteria2.xxxxx.com
rewriteHost: true
|
自签认证证书配置
自签证书可以使用该命令生成证书:
1
| openssl req -x509 -nodes -newkey ec:<(openssl ecparam -name prime256v1) -keyout /etc/hysteria/server.key -out /etc/hysteria/server.crt -subj "/CN=bing.com" -days 3650 && sudo chown hysteria /etc/hysteria/server.key && sudo chown hysteria /etc/hysteria/server.crt
|
配置内容:
1
2
3
4
5
6
7
8
9
10
11
12
13
14
15
16
17
18
19
20
21
22
23
24
| listen: :443
tls:
cert: /etc/hysteria/server.crt
key: /etc/hysteria/server.key
quic:
initStreamReceiveWindow: 8388608
maxStreamReceiveWindow: 8388608
initConnReceiveWindow: 20971520
maxConnReceiveWindow: 20971520
maxIdleTimeout: 30s
maxIncomingStreams: 1024
disablePathMTUDiscovery: false
auth:
type: password
password: 123456
masquerade:
type: proxy
proxy:
url: https://bing.com
rewriteHost: true
|
3.从 Hysteria2 项目地址下载 hysteria2 对应平台的文件到服务器的 /usr/local/hysteria2/bin/ 目录下:
1
| wget -O /usr/local/hysteria2/bin/hysteria-linux-amd64 https://github.com/apernet/hysteria/releases/download/app%2Fv2.4.1/hysteria-linux-amd64
|
4.赋予下载下来的文件可执行权限:
1
| chmod +x /usr/local/hysteria2/bin/hysteria-linux-amd64
|
5.执行启动命令在前台测试启动 hysteria2,看配置是否有问题:
1
2
3
4
5
6
7
8
9
10
11
12
13
14
15
16
17
18
19
20
21
| root@Win10:/usr/local/hysteria2/bin/
2024-04-17T17:34:58+08:00 INFO server mode
2024-04-17T17:34:58+08:00 INFO maintenance started background certificate maintenance{"cache": "0xc00013d030"}
2024-04-17T17:34:58+08:00 INFO obtain acquiring lock {"identifier": "hysteria2.xxxxx.com"}
2024-04-17T17:34:58+08:00 INFO obtain lock acquired {"identifier": "hysteria2.xxxxx.com"}
2024-04-17T17:34:58+08:00 INFO obtain obtaining certificate {"identifier": "hysteria2.xxxxx.com"}
2024-04-17T17:34:59+08:00 INFO waiting on internal rate limiter {"identifiers": ["hysteria2.xxxxx.com"], "ca": "https://acme-v02.api.letsencrypt.org/directory", "account": "[email protected]"}
2024-04-17T17:34:59+08:00 INFO done waiting on internal rate limiter {"identifiers": ["hysteria2.xxxxx.com"], "ca": "https://acme-v02.api.letsencrypt.org/directory", "account": "[email protected]"}
2024-04-17T17:35:00+08:00 INFO acme_client trying to solve challenge {"identifier": "hysteria2.xxxxx.com", "challenge_type": "http-01", "ca": "https://acme-v02.api.letsencrypt.org/directory"}
2024-04-17T17:35:01+08:00 INFO served key authentication {"identifier": "hysteria2.xxxxx.com", "challenge": "http-01", "remote": "13.212.157.188:64650", "distributed": false}
2024-04-17T17:35:01+08:00 INFO served key authentication {"identifier": "hysteria2.xxxxx.com", "challenge": "http-01", "remote": "23.178.112.104:46543", "distributed": false}
2024-04-17T17:35:01+08:00 INFO served key authentication {"identifier": "hysteria2.xxxxx.com", "challenge": "http-01", "remote": "52.12.1.139:64154", "distributed": false}
2024-04-17T17:35:01+08:00 INFO served key authentication {"identifier": "hysteria2.xxxxx.com", "challenge": "http-01", "remote": "13.48.56.144:37054", "distributed": false}
2024-04-17T17:35:01+08:00 INFO served key authentication {"identifier": "hysteria2.xxxxx.com", "challenge": "http-01", "remote": "18.191.188.95:13872", "distributed": false}
2024-04-17T17:35:02+08:00 INFO acme_client authorization finalized {"identifier": "hysteria2.xxxxx.com", "authz_status": "valid"}
2024-04-17T17:35:02+08:00 INFO acme_client validations succeeded; finalizing order {"order": "https://acme-v02.api.letsencrypt.org/acme/order/1677558437/261677812667"}
2024-04-17T17:35:03+08:00 INFO acme_client successfully downloaded available certificate chains {"count": 2, "first_url": "https://acme-v02.api.letsencrypt.org/acme/cert/038b24367200fbe48ff9aaa7eb71a71e2860"}
2024-04-17T17:35:03+08:00 INFO obtain certificate obtained successfully {"identifier": "hysteria2.xxxxx.com"}
2024-04-17T17:35:03+08:00 INFO obtain releasing lock {"identifier": "hysteria2.xxxxx.com"}
2024-04-17T17:35:04+08:00 INFO server up and running {"listen": ":443"}
^C
|
6.为了后期的维护管理,我们在 /lib/systemd/system/ 目录下创建 hysteria2 的启动脚本文件 hysteria2.service, 内容为:
1
2
3
4
5
6
7
8
9
10
11
12
13
14
15
16
17
18
| [Unit]
Description=Hysteria Server Service (${_config_name}.yaml)
After=network.target
[Service]
Type=simple
ExecStart=/usr/local/hysteria2/bin server --config /usr/local/hysteria2/etc/config.yaml
WorkingDirectory=/usr/local/hysteria2
Environment=HYSTERIA_LOG_LEVEL=info
CapabilityBoundingSet=CAP_NET_ADMIN CAP_NET_BIND_SERVICE CAP_NET_RAW
AmbientCapabilities=CAP_NET_ADMIN CAP_NET_BIND_SERVICE CAP_NET_RAW
NoNewPrivileges=true
RemainAfterExit=yes
[Install]
WantedBy=multi-user.target
|
7.执行命令 systemctl daemon-reload 加载下启动脚本:
8.执行命令 systemctl enable --now hysteria2.service 启动 hysteria2 服务,并将其设置为开机启动:
1
| systemctl enable --now hysteria2.service
|
客户端安装
Windows
客户端工具: v2rayN
下载安装 6.30 以上版本的 V2rayN 客户端,注意需要下载 v2rayN-With-Core.zip 或者 zz_v2rayN-With-Core-SelfContained.7z 的文件
点击 服务器 -> 添加[hysteria2]服务器 ,填写服务器的配置信息就可以了
如果是使用 CA 证书搭建的,SNI 填写你的域名,跳过证书验证选择 false,使用自签证书搭建的,SNI 就填写伪装网址,跳过证书验证选择 true
Linux
1.在 /usr/local/ 目录下新建 hysteria2 目录:
1
| mkdir -p /usr/local/hysteria2/{etc,bin,logs}
|
2.在 /usr/local/hysteria2/etc/ 目录下新建配置文件 config.yaml, 内容为:
1
2
3
4
5
6
7
8
9
10
11
12
13
14
15
| server: ip:443
auth: 123456
bandwidth:
up: 20 mbps
down: 100 mbps
tls:
sni: a.com
insecure: false
socks5:
listen: 127.0.0.1:1080
http:
listen: 127.0.0.1:8080
|
3.从 Hysteria2 项目地址下载 hysteria2 对应平台的文件到服务器的 /usr/local/hysteria2/bin/ 目录下:
1
| wget -O /usr/local/hysteria2/bin/hysteria-linux-amd64 https://github.com/apernet/hysteria/releases/download/app%2Fv2.4.1/hysteria-linux-amd64
|
4.赋予下载下来的文件可执行权限:
1
| chmod +x /usr/local/hysteria2/bin/hysteria-linux-amd64
|
5.为了后期的维护管理,我们在 /lib/systemd/system/ 目录下创建 hysteria2 的启动脚本文件 hysteria2.service, 内容为:
1
2
3
4
5
6
7
8
9
10
11
12
13
14
15
16
17
18
| [Unit]
Description=Hysteria Server Service (${_config_name}.yaml)
After=network.target
[Service]
Type=simple
ExecStart=/usr/local/hysteria2/bin server --config /usr/local/hysteria2/etc/config.yaml
WorkingDirectory=/usr/local/hysteria2
Environment=HYSTERIA_LOG_LEVEL=info
CapabilityBoundingSet=CAP_NET_ADMIN CAP_NET_BIND_SERVICE CAP_NET_RAW
AmbientCapabilities=CAP_NET_ADMIN CAP_NET_BIND_SERVICE CAP_NET_RAW
NoNewPrivileges=true
RemainAfterExit=yes
[Install]
WantedBy=multi-user.target
|
6.执行命令 systemctl daemon-reload 加载下启动脚本:
7.执行命令 systemctl enable --now hysteria2.service 启动 hysteria2 服务,并将其设置为开机启动:
1
| systemctl enable --now hysteria2.service
|
Android
客户端工具: sing-box
配置案例: sing-box-examples
配置如下:
1
2
3
4
5
6
7
8
9
10
11
12
13
14
15
16
17
18
19
20
21
22
23
24
25
26
27
28
29
30
31
32
33
34
35
36
37
38
39
40
41
42
43
44
45
46
47
48
49
50
51
52
53
54
55
56
57
58
59
60
61
62
63
64
65
66
67
68
69
70
71
72
73
74
75
76
77
78
79
80
81
82
83
84
85
86
87
88
89
90
91
92
93
94
95
96
97
98
99
100
101
| {
"log": {
"disabled": false,
"level": "error"
},
"dns": {
"servers": [
{
"tag": "cloudflare",
"address": "https://1.1.1.1/dns-query",
"detour": "proxy"
},
{
"tag": "local",
"address": "223.5.5.5",
"detour": "direct"
},
{
"tag": "block",
"address": "rcode://success"
}
],
"rules": [
{
"geosite": [
"cn"
],
"server": "local",
"disable_cache": true
},
{
"geosite": [
"category-ads-all"
],
"server": "block",
"disable_cache": true
}
],
"strategy": "ipv4_only"
},
"inbounds": [
{
"type": "tun",
"tag": "tun-in",
"inet4_address": "172.19.0.1/30",
"inet6_address": "fdfe:dcba:9876::1/126",
"auto_route": true,
"strict_route": false,
"sniff": true
}
],
"outbounds": [
{
"type": "hysteria2",
"tag": "proxy",
"server": "111.111.111.111",
"server_port": 443,
"up_mbps": 20,
"down_mbps": 50,
"password": "123456",
"tls": {
"enabled": true,
"server_name": "your.domain.net",
"insecure": false
}
},
{
"type": "direct",
"tag": "direct"
},
{
"type": "block",
"tag": "block"
},
{
"type": "dns",
"tag": "dns-out"
}
],
"route": {
"rules": [
{
"protocol": "dns",
"outbound": "dns-out"
},
{
"geosite": "cn",
"geoip": [
"private",
"cn"
],
"outbound": "direct"
},
{
"geosite": "category-ads-all",
"outbound": "block"
}
],
"auto_detect_interface": true
}
}
|
IOS
同 Android 方法!
参考文档