系统环境

标题 版本 备注
系统版本 ubuntu 22.04.3 LTS (Jammy Jellyfish) -
内核版本 5.15.0-88-generic #98-Ubuntu SMP Mon Oct 2 15:18:56 UTC 2023 x86_64 x86_64 x86_64 GNU/Linux -
Jenkins v2.440.2 -

jenkins 简介

Jenkins 官方站点: https://www.jenkins.io/

Jenkins 是一个开源的自动化服务器,它主要用于持续集成和持续部署(CI/CD)的自动化流程。Jenkins 通过插件支持软件开发的构建、测试、部署等各个环节,可以实现项目的自动化构建、测试反馈、部署发布等工作。由于其插件丰富,Jenkins 可以轻松与各种开发、测试和部署工具集成,使得它成为了软件开发中实现持续集成和持续部署的一个流行选择。

Jenkins 的主要特点包括:

  • 开源:Jenkins 是一个开源项目,拥有庞大的社区支持和众多的插件资源。
  • 插件系统:通过安装和配置插件,可以扩展 Jenkins 的功能,以适应不同的需求和环境。
  • 易于安装和配置:Jenkins 可以通过WAR文件部署在Servlet容器中,或者通过系统特定的安装程序安装。
  • 跨平台:Jenkins 可以在任何拥有Java运行环境的操作系统上运行。
  • 支持主从架构:可以配置多个Jenkins节点,进行分布式构建和测试,提高资源利用率和处理能力。
  • 丰富的文档和社区支持:有着详细的文档和活跃的社区,便于用户学习和解决使用过程中的问题。

Jenkins 通过持续集成和持续部署,帮助团队提高软件开发的效率和质量,减少了人为错误,加快了软件交付的速度。

jenkins 安装

命令行安装

1.添加 jenkins 仓库密钥到系统:

1
$ sudo wget -O /usr/share/keyrings/jenkins-keyring.asc https://pkg.jenkins.io/debian-stable/jenkins.io-2023.key

2.添加 jenkins 源:

1
2
3
$ sudo sh -c 'echo deb [signed-by=/usr/share/keyrings/jenkins-keyring.asc] \
https://pkg.jenkins.io/debian-stable binary/ | sudo tee \
/etc/apt/sources.list.d/jenkins.list > /dev/null'

3.安装 jenkins 所需的环境:

1
$ sudo apt install -y fontconfig 

4.安装 jenkins:

1
$ sudo apt install -y jenkins

安装完成后, jenkins 默认会被设置为启动状态:

1
2
3
4
5
6
7
8
9
10
11
12
13
14
$ sudo systemctl status jenkins
● jenkins.service - Jenkins Continuous Integration Server
Loaded: loaded (/lib/systemd/system/jenkins.service; enabled; vendor preset: enabled)
Active: active (running) since Tue 2024-04-09 04:00:53 UTC; 3h 42min ago
Main PID: 9994 (java)
Tasks: 52 (limit: 9389)
Memory: 1.3G
CPU: 19.955s
CGroup: /system.slice/jenkins.service
└─9994 /usr/bin/java -Djava.awt.headless=true -jar /usr/share/java/jenkins.war --web>

Apr 09 04:00:53 vm002-ubuntu jenkins[9994]: 2024-04-09 04:00:53.008+0000 [id=33] INFO >
Apr 09 04:00:53 vm002-ubuntu jenkins[9994]: 2024-04-09 04:00:53.273+0000 [id=35] INFO >
Apr 09 04:00:53 vm002-ubuntu jenkins[9994]: 2024-04-09 04:00:53.273+0000 [id=35] INFO

由于默认 jenkins 会将数据存放到 /var/lib/jenkins 目录里。随着 jenkins 使用的时间越长,会导致根目录使用空间会越来越小,所以在使用 jenkins 之前,我们需要将其目录自定义到一个比较大的分区下(比如我这里指向 /data/jenkins

5.创建 jenkins 数据目录:

1
$ sudo mkdir -p /data/jenkins

6.将创建的目录所属主和组都修改为 jenkins:

1
$ sudo chown -R jenkins:jenkins /data/jenkins

7.编辑 jenkins 启动脚本文件 /lib/systemd/system/jenkins.serviec , 将 Environment="JENKINS_HOME=/var/lib/jenkins"WorkingDirectory=/var/lib/jenkins 分别修改成 Environment="JENKINS_HOME=/data/jenkins"WorkingDirectory=/var/lib/jenkins ,如下:

1
$ sudo sed -i 's@/var/lib/jenkins@/var/lib/jenkins@g' /lib/systemd/system/jenkins.serviec

完整的脚本文件内容如下:

1
2
3
4
5
6
7
8
9
10
11
12
13
14
15
16
17
18
19
20
21
22
23
24
25
26
27
28
29
30
31
32
33
34
35
36
37
38
39
40
41
42
43
44
45
46
47
48
49
50
51
52
53
54
55
56
57
58
59
60
61
62
63
64
65
66
67
68
69
70
71
72
73
74
75
76
77
78
79
80
81
82
83
84
85
86
87
88
89
90
91
92
93
94
95
96
97
98
99
100
101
102
103
104
105
106
107
108
109
110
111
112
113
114
115
116
117
118
119
120
121
122
123
124
125
126
127
128
129
130
131
132
133
134
135
136
137
138
139
140
141
142
143
144
145
146
147
148
149
150
151
152
$ sudo cat /lib/systemd/system/jenkins.service
#
# This file is managed by systemd(1). Do NOT edit this file manually!
# To override these settings, run:
#
# systemctl edit jenkins
#
# For more information about drop-in files, see:
#
# https://www.freedesktop.org/software/systemd/man/systemd.unit.html
#

[Unit]
Description=Jenkins Continuous Integration Server
Requires=network.target
After=network.target

[Service]
Type=notify
NotifyAccess=main
ExecStart=/usr/bin/jenkins
Restart=on-failure
SuccessExitStatus=143

# Configures the time to wait for start-up. If Jenkins does not signal start-up
# completion within the configured time, the service will be considered failed
# and will be shut down again. Takes a unit-less value in seconds, or a time span
# value such as "5min 20s". Pass "infinity" to disable the timeout logic.
#TimeoutStartSec=90

# Unix account that runs the Jenkins daemon
# Be careful when you change this, as you need to update the permissions of
# $JENKINS_HOME, $JENKINS_LOG, and (if you have already run Jenkins)
# $JENKINS_WEBROOT.
User=jenkins
Group=jenkins

# Directory where Jenkins stores its configuration and workspaces
#Environment="JENKINS_HOME=/var/lib/jenkins"
Environment="JENKINS_HOME=/data/jenkins"
#WorkingDirectory=/var/lib/jenkins
WorkingDirectory=/data/jenkins

# Location of the Jenkins WAR
#Environment="JENKINS_WAR=/usr/share/java/jenkins.war"

# Location of the exploded WAR
Environment="JENKINS_WEBROOT=%C/jenkins/war"

# Location of the Jenkins log. By default, systemd-journald(8) is used.
#Environment="JENKINS_LOG=%L/jenkins/jenkins.log"

# The Java home directory. When left empty, JENKINS_JAVA_CMD and PATH are consulted.
#Environment="JAVA_HOME=/usr/lib/jvm/java-17-openjdk-amd64"

# The Java executable. When left empty, JAVA_HOME and PATH are consulted.
#Environment="JENKINS_JAVA_CMD=/etc/alternatives/java"

# Arguments for the Jenkins JVM
Environment="JAVA_OPTS=-Djava.awt.headless=true"

# Unix Domain Socket to listen on for local HTTP requests. Default is disabled.
#Environment="JENKINS_UNIX_DOMAIN_PATH=/run/jenkins/jenkins.socket"

# IP address to listen on for HTTP requests.
# The default is to listen on all interfaces (0.0.0.0).
#Environment="JENKINS_LISTEN_ADDRESS="

# Port to listen on for HTTP requests. Set to -1 to disable.
# To be able to listen on privileged ports (port numbers less than 1024),
# add the CAP_NET_BIND_SERVICE capability to the AmbientCapabilities
# directive below.
Environment="JENKINS_PORT=8080"

# IP address to listen on for HTTPS requests. Default is disabled.
#Environment="JENKINS_HTTPS_LISTEN_ADDRESS="

# Port to listen on for HTTPS requests. Default is disabled.
# To be able to listen on privileged ports (port numbers less than 1024),
# add the CAP_NET_BIND_SERVICE capability to the AmbientCapabilities
# directive below.
#Environment="JENKINS_HTTPS_PORT=443"

# Path to the keystore in JKS format (as created by the JDK's keytool).
# Default is disabled.
#Environment="JENKINS_HTTPS_KEYSTORE=/path/to/keystore.jks"

# Password to access the keystore defined in JENKINS_HTTPS_KEYSTORE.
# Default is disabled.
#Environment="JENKINS_HTTPS_KEYSTORE_PASSWORD=s3cR3tPa55w0rD"

# IP address to listen on for HTTP2 requests. Default is disabled.
#Environment="JENKINS_HTTP2_LISTEN_ADDRESS="

# HTTP2 port to listen on. Default is disabled.
# To be able to listen on privileged ports (port numbers less than 1024),
# add the CAP_NET_BIND_SERVICE capability to the AmbientCapabilities
# directive below.
#Environment="JENKINS_HTTP2_PORT="

# Controls which capabilities to include in the ambient capability set for the
# executed process. Takes a whitespace-separated list of capability names, e.g.
# CAP_SYS_ADMIN, CAP_DAC_OVERRIDE, CAP_SYS_PTRACE. Ambient capability sets are
# useful if you want to execute a process as a non-privileged user but still
# want to give it some capabilities. For example, add the CAP_NET_BIND_SERVICE
# capability to be able to listen on privileged ports (port numbers less than
# 1024).
#AmbientCapabilities=CAP_NET_BIND_SERVICE

# Debug level for logs. The higher the value, the more verbose. 5 is INFO.
#Environment="JENKINS_DEBUG_LEVEL=5"

# Set to true to enable logging to /var/log/jenkins/access_log.
#Environment="JENKINS_ENABLE_ACCESS_LOG=false"

# Servlet context (important if you want to use reverse proxying)
#Environment="JENKINS_PREFIX=/jenkins"

# Arbitrary additional arguments to pass to Jenkins.
# Full option list: java -jar jenkins.war --help
#Environment="JENKINS_OPTS="

# Maximum core file size. If unset, the value from the OS is inherited.
#LimitCORE=infinity

# Maximum file size. If unset, the value from the OS is inherited.
#LimitFSIZE=infinity

# File descriptor limit. If unset, the value from the OS is inherited.
#LimitNOFILE=8192

# Maximum number of processes. If unset, the value from the OS is inherited.
#LimitNPROC=32768

# Set the umask to control the permission bits of files that Jenkins creates.
#
# 0027 makes files read-only for group and inaccessible for others, which some
# security sensitive users might consider beneficial, especially if Jenkins
# is running on a server that is used for multiple purposes. Beware that 0027
# permissions would interfere with sudo scripts that run on the controller
# (see JENKINS-25065).
#
# Note also that the particularly sensitive parts of $JENKINS_HOME (such as
# credentials) are always written without 'other' access. So the umask values
# only affect job configuration, build records, etc.
#
# If unset, the value from the OS is inherited, which is normally 0022.
# The default umask comes from pam_umask(8) and /etc/login.defs.
#UMask=0022

[Install]
WantedBy=multi-user.target

8.执行命令 systemctl daemon-reload 重载下 jenkins 启动脚本文件

1
$ sudo systemctl daemon-reload

9.执行命令 systemctl restart jenkins.service 重启下 jenkins:

1
$ sudo systemctl restart jenkins.service

于此同时,我们要去系统日志文件 /var/log/syslog 里面查找 web 端继续安装的密码:

1
2
3
4
5
6
7
Apr  9 03:33:00 vm002-ubuntu jenkins[9147]: *************************************************************
Apr 9 03:33:00 vm002-ubuntu jenkins[9147]: message repeated 2 times: [ *************************************************************]
Apr 9 03:33:00 vm002-ubuntu jenkins[9147]: Jenkins initial setup is required. An admin user has been created and a password generated.
Apr 9 03:33:00 vm002-ubuntu jenkins[9147]: Please use the following password to proceed to installation:
Apr 9 03:33:00 vm002-ubuntu jenkins[9147]: a86bd0ec427e48bcaa02fb26120f6288
Apr 9 03:33:00 vm002-ubuntu jenkins[9147]: This may also be found at: /var/lib/jenkins/secrets/initialAdminPassword
Apr 9 03:33:00 vm002-ubuntu jenkins[9147]: *************************************************************

网页安装

1.打开浏览器,输入服务器 IP:8080 ,输入在日志文件中获取的密码,点击 Continue(确定)。如图:

2.在插件安装页面,我们直接点击默认的 Install suggested plugins 即可(如果你想自定义安装某些插件,则选择右边的 Select plugins to install 即可)。如图:

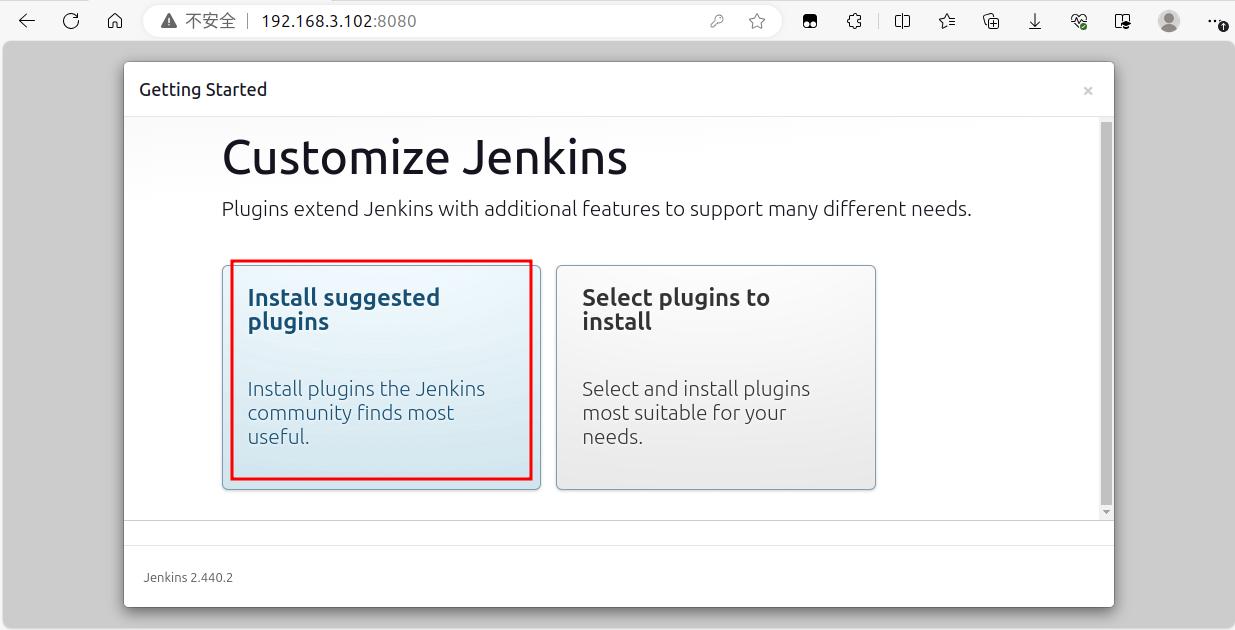
接下来,jenkins 就会在后台安装插件了,此过程比较漫长,如图:

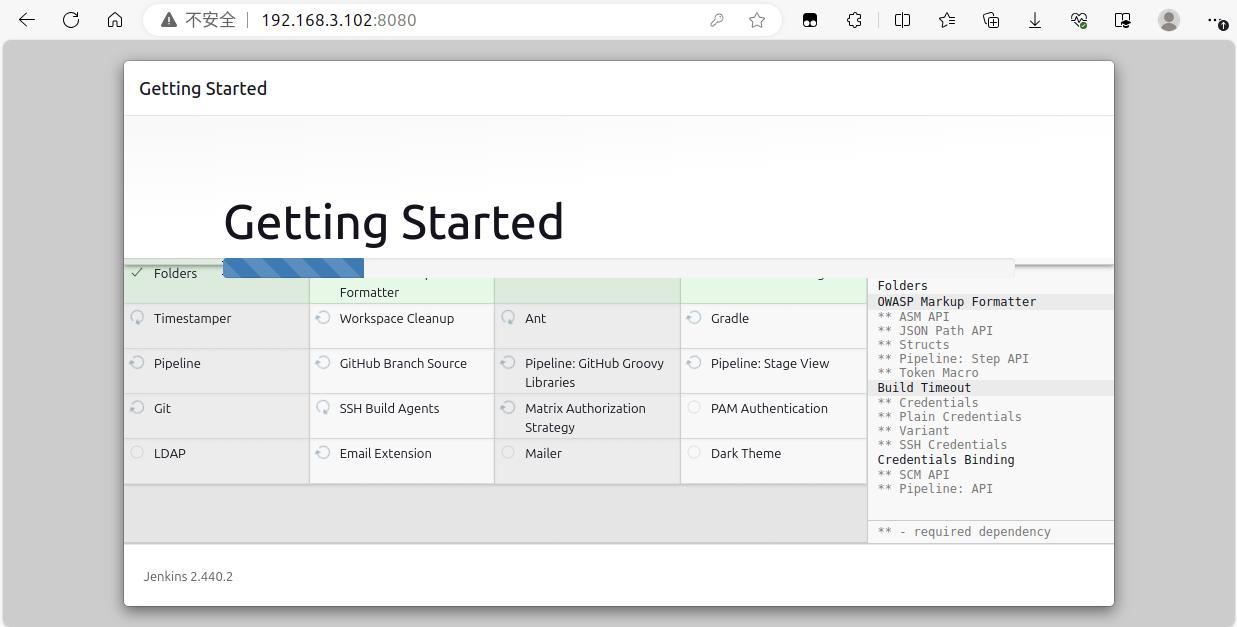
3.插件安装完成后,进入创建管理员用户界面。根据自身需求,输入管理员账号、密码及邮箱地址。然后点击右下角的 save and Continue,如图:

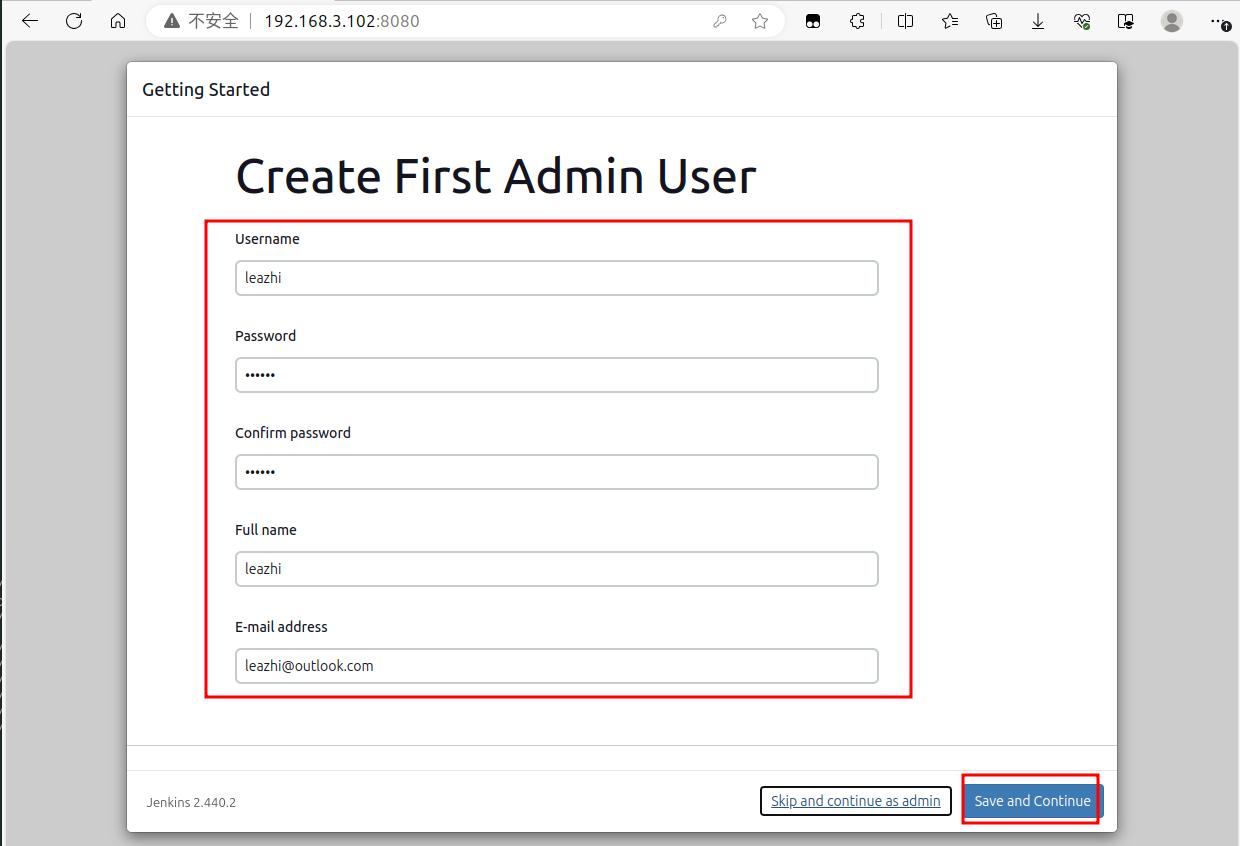
4.进入 Instance Configuration 页面后,设置访问 jenkins 的 url 地址,然后点击右下角的 Save and Finish,如图:

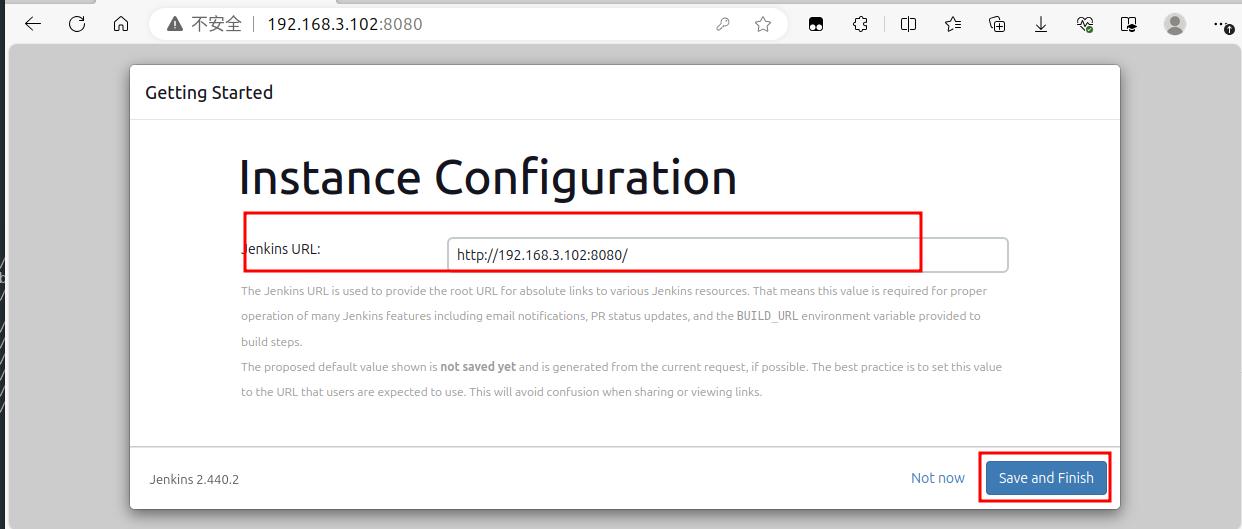
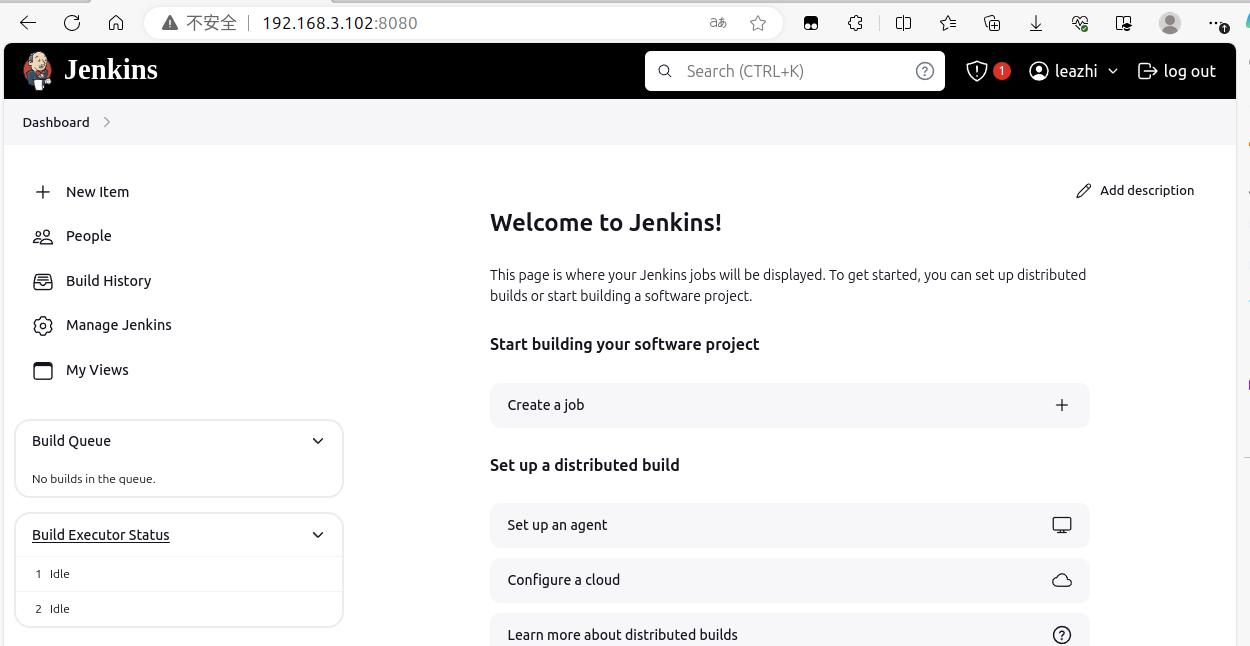
到此,jenkins 安装完成!如下图:

5.点击上图中的 Start using Jenkins 跳转到 jenkins 首页: